Choose a Craft Project You Will Enjoy Making and Keeping
A good craft idea does more than look appealing in a photograph. It gives you a manageable process, materials you can use comfortably, and a result that has a place in your life. You might enjoy making a basket, creating a small book, sewing something useful, or decorating an ordinary household object. The right project depends on what you want to spend time doing, how much space you have, and which tools or techniques you want to learn. Start with a small version and understand the whole process before gathering a large supply collection. Crafting can be practical, expressive, social, or quietly absorbing. It does not need to become a business, a competition, or a permanent obligation to provide handmade gifts for everyone you know.
A: Begin with the purpose you want and let it guide the materials and process.
A: No. Read the steps and ask which techniques the kit assumes.
A: No. Suitability depends on the original object, materials, and finish.
A: Choose a smaller setup, a portable arrangement, or a different process that fits your energy.
A: No. Repetition and simple variations can remain enjoyable creative choices.
A: A practice version can help you judge the work before promising a deadline.
A: Yes, when the shared setting and materials can accommodate everyone comfortably.
A: Check permission, cleanliness, possible irritation, and the material's intended use.
A: Confirm its current needs first so the result can be used.
A: It can reveal which techniques, materials, and setup you want to keep or change next time.
Start With the Project's Purpose and Scale
Ask whether you want to make something useful, decorative, personal, or simply exploratory. A small object for your own home may be easier to plan than a set of gifts with an approaching deadline. Choose a scale that lets you learn without requiring a large investment or many sessions before you see any progress. Look at the full sequence, including drying, finishing, and cleanup, rather than judging only the attractive final image. A project that fits your current space and interest is more likely to be enjoyable than one chosen because it looks impressive when someone else has finished it.
Make a Folded Card and a Small Paper Notebook
For a first card, fold suitable cardstock in half and choose one large paper shape for the front. A leaf, house, or circle can become the main design. Add a smaller contrasting piece and a personal detail inside. Arrange the pieces before using an adhesive intended for the materials. You can make a second card with the same shapes in another position, giving you a small experiment in layout as well as something useful to send.
For a notebook, choose a simple folded-paper format from clear beginner instruction. Fill the first page with a theme such as garden observations, color combinations, or a short family story. The remaining pages can wait for later sessions. Precut paper or prepared components can keep cutting out of the project if you prefer. Choose card or notebook according to what you would actually enjoy using, and keep the first version small enough to finish or put away easily.
Sew a Bookmark or Make a Small Yarn Square
A fabric bookmark gives a first sewing project a clear shape. Choose a beginner pattern using two suitable fabric rectangles, and learn the straight joining and finishing steps it requires. Coordinate the fabric colors or add a simple decorative detail if you want one. The useful result is small, portable, and easy to keep beside a book. An instructor can help you choose a method and tools that suit your experience and comfort.
If knitting or crochet interests you, begin with a small square using one basic stitch taught through clear instruction. Choose the yarn and tool size the pattern specifies. A square lets you practice the repeated movement and see its texture without having to manage garment shaping. You can keep it as a sample or choose a later beginner project that uses the same technique. Washing and intended use should follow the actual material’s requirements.
Compare the experiences before choosing the next project. Sewing the bookmark may appeal because separate pieces become one object; a yarn square may be enjoyable because of the repeated rhythm. Neither has to be an important gift. Keeping the first attempt for yourself gives you time to learn and decide what you like. If a tool or movement is uncomfortable, change the method or ask for suitable help rather than pushing through it.
Try a Paper-Weaving Mat Before Choosing Basketry
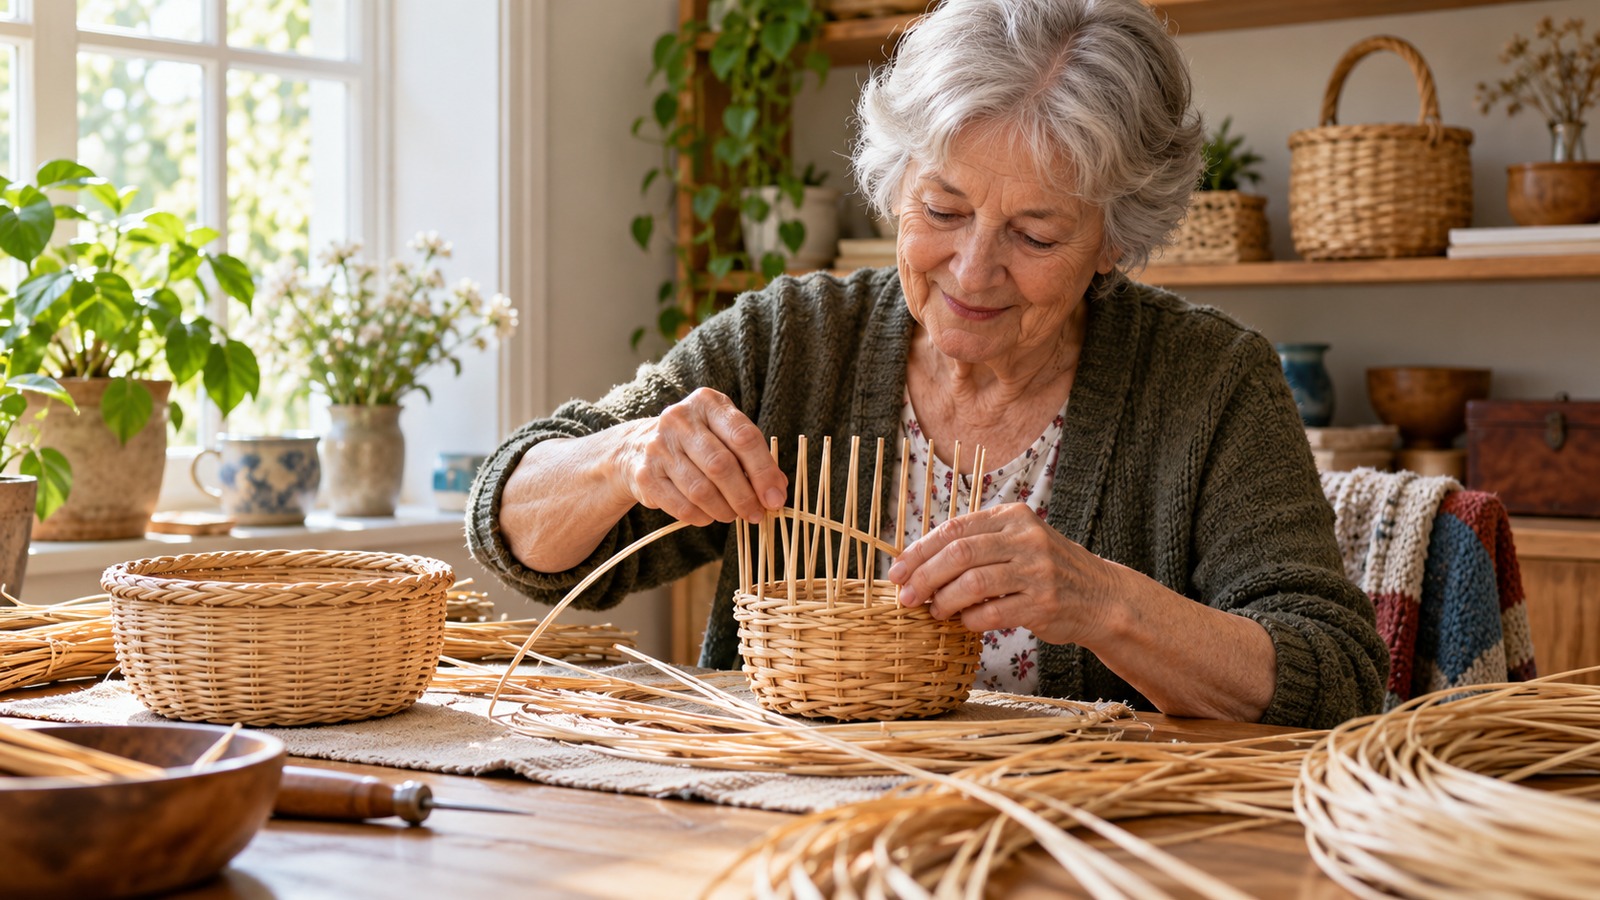
A small paper-weaving mat offers a concrete introduction to alternating strips. Use a clear beginner demonstration and prepared strips if cutting is inconvenient. Try two contrasting colors, place the strips across one another in the demonstrated pattern, and secure the edges using suitable materials. The mat can be a decorative page or a sample to keep. If you enjoy seeing the structure build, ask a basketry instructor about a small beginner basket and its actual tools, preparation, and physical demands. Paper weaving and basketry are different processes, but the first exercise can help you recognize whether arranging repeated crossings appeals to you.
Decorate a Plain Frame With a Repeating Pattern
Choose an inexpensive plain frame whose surface suits the craft materials you intend to use. Try a design on paper first: broad alternating shapes, a simple border, or two colors repeated around the edge. Follow the chosen product’s preparation and drying directions. A small sample can show whether the colors work together before you alter the whole frame. Select a photograph or drawing whose mood fits the design, using a copy rather than an irreplaceable original.
Keep the frame’s purpose clear. Decorations should not obstruct the support, hanging arrangement, or the part that holds the image. If a surface or finish is unfamiliar, choose a beginner kit or ask an instructor rather than improvising with an unsuitable product. The project offers a contained design problem: a limited border around an image you want to see. A finished frame can stay in your own room or become a gift when the recipient would welcome it.
Make a Small Book Around a Theme You Care About
Make a four-entry ‘places I remember’ booklet using a simple folded format. Choose one place for each entry and leave room for a drawing, copied photograph, or brief description. A kitchen, school journey, first workplace, and favorite outdoor spot could each provide a page. Begin with the easiest memory rather than trying to tell a complete life story. The format gives the project boundaries while allowing the contents to be personal.
Arrange the material loosely before attaching thick pieces or deciding on binding. You might use one image and a few lines per entry, or let a drawing occupy most of a page. Work with suitable copies of photographs and share family information thoughtfully. A purely private version is also useful: it can be a place to explore your own memories without preparing them for an audience.
Choose whether the first booklet should close the project or suggest another theme. A second could collect favorite colors, small garden observations, or objects you use every day. Keeping each book short makes the finish visible. You can discover a preferred way to combine pictures and words through several modest projects rather than beginning with a large volume that requires months before you can turn through a completed sequence.
Build a Paper-Leaf Display From Shapes You Notice
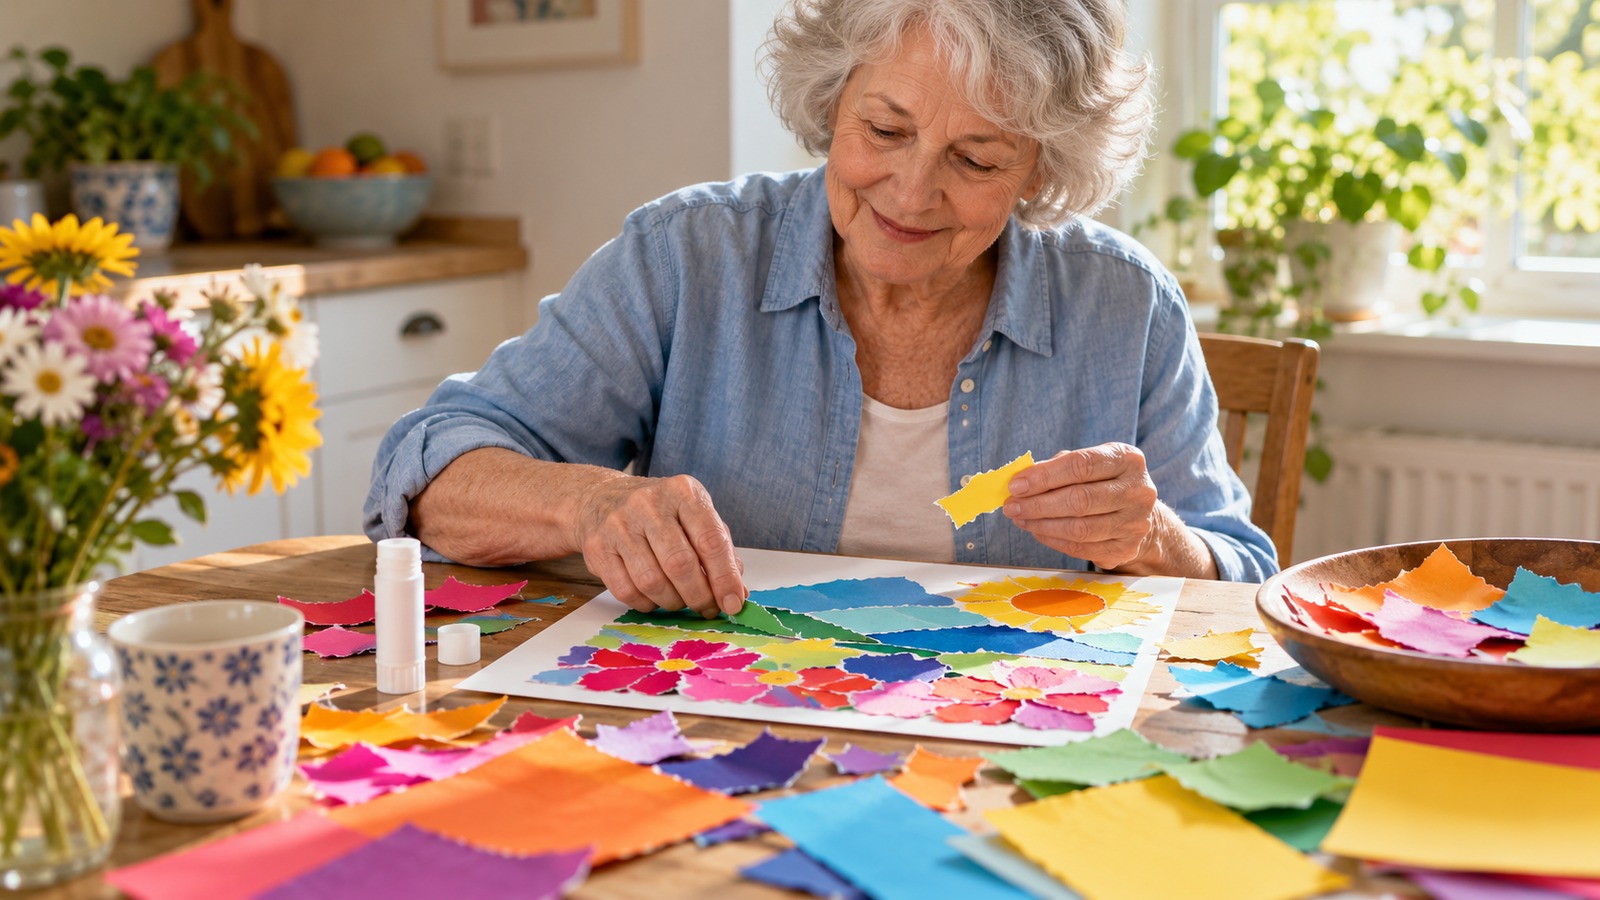
Use a photograph or a familiar leaf shape as a drawing reference, then make a few paper versions in different colors. Prepared shapes are another option. Arrange them on a plain background as a branch, a circle, or a loose collection before attaching them with suitable adhesive. A simple design can work well with large shapes. The project lets you explore nature’s patterns without needing to preserve collected plants or manage a material that may deteriorate.
For another session, change the scale or palette while keeping the outline. A large leaf can become the center of a small picture, while repeated smaller leaves create a border. You could compare seasonal colors or choose an entirely imagined combination. Display the result as a paper craft and select an appropriate frame or backing if wanted. Its interest comes from the arrangement you made, rather than a promise that natural materials will remain unchanged.
Gather Supplies in Stages Rather Than All at Once
Make a short list for the first version, distinguishing essential supplies from optional decoration. Check what you already own and whether it is suitable, then buy only what the project actually requires. A coordinated kit can be convenient, but confirm its contents, instructions, and any tools sold separately. Compare the total cost rather than the headline price. Storage and replacement supplies also deserve consideration if you plan to repeat the activity. A smaller, well-understood setup leaves you with more room to discover your preferences than a large collection chosen before you have tried the process.
Arrange the Workspace Around Comfort and Safe Handling
Choose a stable surface, suitable lighting, and a position that lets you work without unnecessarily straining to see or reach. Keep needed supplies within a manageable area and follow the tools’ instructions. Sharp implements, heated equipment, adhesives, and small components each require appropriate handling and storage. If you need assistance with a particular task, plan that support rather than hoping someone will be available when the difficult step arrives.
Think about cleanup before beginning. Some projects can be put away on a tray, while others need drying space or product-specific disposal. Protect shared surfaces and allow enough time to leave the area usable. Avoid mixing unknown products or substituting household chemicals for the materials described in an instruction. When a process is unfamiliar, a qualified instructor or the product’s official guidance is a better source than improvisation.
Adapt the project itself when the setup becomes burdensome. Larger components, fewer steps, or a different technique may make participation more enjoyable, but suitability depends on the person and activity. Ask about practical options rather than assuming one adaptation fits everyone. If symptoms or physical difficulties persist, seek appropriate professional advice. You can choose another form of crafting while maintaining your interest in making things.
Share Crafting Without Turning It Into a Production Line
A shared session can be organized around conversation, a demonstration, or individual versions of a simple project. Ask participants what they want to try and check the materials and setting beforehand. People can enjoy being together without using the same technique or finishing at the same speed. Avoid assigning a corrective role to the most experienced participant unless that person and the group want instruction.
Let the maker decide what happens to their work. A group project should not create an unexpected obligation to donate, sell, or display the result. If the activity supports a charity, confirm its current requirements before making items. Unrequested handmade goods can be difficult for an organization to use or store. A shared purpose works better when everyone understands the actual plan and can choose their level of participation.
Give Handmade Objects Without Creating an Obligation
When you want to make a gift, consider the recipient’s taste, storage, and practical circumstances before choosing the project. Ask when the item would require a large space, ongoing care, or a specific use. Keep the gift separate from an expectation that it must be displayed forever. A thoughtful handmade present can communicate attention, but it should not become a test of the relationship. You can also make something for yourself or enjoy a practice piece without assigning every object a recipient. That freedom can help crafting remain a pleasure rather than a duty.
Use the First Project to Choose the Next One
After finishing or setting a project aside, notice which part you enjoyed. Perhaps the planning was appealing but the final assembly was not, or the repeated movement was satisfying while the decoration felt unnecessary. Those observations can guide another project more usefully than asking only whether the object looks professional. You learned something about the process and your preferences, even if the result stays private or remains a sample.
Choose the next step according to that experience. Repeat a small project with a new color, ask for instruction on one technique, or explore a different material. There is no requirement to progress toward greater complexity. A simple object made comfortably and with interest can be a good craft project at any stage. Let usefulness, expression, curiosity, or companionship give the activity its place in your life, with enough flexibility to keep making choices you enjoy.