Make Room for Art Without Needing a Perfect Result
An art activity can begin with an ordinary sheet of paper and a willingness to see what happens next. You do not need to choose a lifelong medium or produce something suitable for a frame. The twenty-five ideas below offer different ways to explore line, color, texture, images, and personal stories. Choose materials you can handle comfortably, follow their instructions, and adapt the setup to your own access needs. Easy means an approachable starting point, rather than a promise that every method suits every person. You may prefer one quiet experiment, a shared afternoon, or several short sessions. Let the process reveal what you enjoy, and keep the freedom to change an idea instead of treating the example as a set of rules you must reproduce.
A: No. A sample, experiment, or unfinished piece can be a worthwhile session.
A: Try marks, color, or paper arrangement before choosing a representational subject.
A: No. Suitability and finishing requirements depend on the product and process.
A: Use an appropriate copy rather than cutting or attaching an irreplaceable original.
A: Only if that serves your purpose; it can reflect remembered meaning instead.
A: Yes. A poem, remembered phrase, or story can be combined with visual exploration.
A: Consider prepared shapes, torn paper where manageable, or a different method.
A: Use a format everyone welcomes; exploration need not become a competition.
A: Yes. Making art does not create an obligation to display or publish it.
A: Collect them, revisit a subject, change the medium, or use them to guide the next session.
Begin With Marks and Familiar Objects
1. Follow a wandering line. Start near the middle of a sheet and let a pencil wander into loops, corners, and crossings. Pause where a shape catches your eye, then color a few enclosed spaces. You might discover an imaginary map or simply enjoy the path. Try another page with broader curves and compare the two. This is an easy shared activity because each person’s line can develop differently from the same beginning.
2. Draw the outline of one object. Choose a cup, a shoe, or a leaf with a shape you enjoy. Look at its outer edge, then follow that edge slowly with a pencil on the page. Notice where the shape widens or changes direction. Add one detail that makes the object recognizable to you. At another session, turn it around and draw a second view; an ordinary object can provide several small studies.
3. Create a page of marks. Divide a sheet into several generous spaces and fill each with a different kind of mark: dots, curves, short strokes, or broad shading. Change the direction or spacing in one area. Then choose two marks to combine in a larger pattern. Your first page becomes a collection you can borrow from whenever a blank sheet feels uninviting. A comfortable pencil or broad drawing tool is enough to begin.
Explore a Small Range of Color
4. Make a personal color collection. Think of a place you know: a garden, a kitchen, or a shoreline. Choose three or four colors that bring it to mind and place them together as patches or simple shapes. Add a detail only you associate with the place. The result might become an abstract picture or the beginning of a more recognizable scene. A small palette makes the relationships between colors easier to notice.
5. Try a watercolor wash. With a beginner watercolor set and suitable paper, choose one color and explore a small area according to the product’s instructions. Make one patch lighter and another stronger, then watch the drying edges. Once dry, you could add a simple horizon or a few pencil lines. The changing color is the subject of the first experiment. Keep the sample so the next session begins with something you have already discovered.
See How One Material Can Resist Another
6. Explore crayon and watercolor together. Using suitable products, draw a few wax-crayon stars, leaves, or looping lines on watercolor paper. Test a light wash on one corner and notice how the two materials interact. Continue across the design if you like the effect, then let it dry. You can make a night-sky picture, a patterned landscape, or a simple abstract study. Next time, change the crayon color or spacing to see which combination interests you.
Build Pictures From Paper Shapes
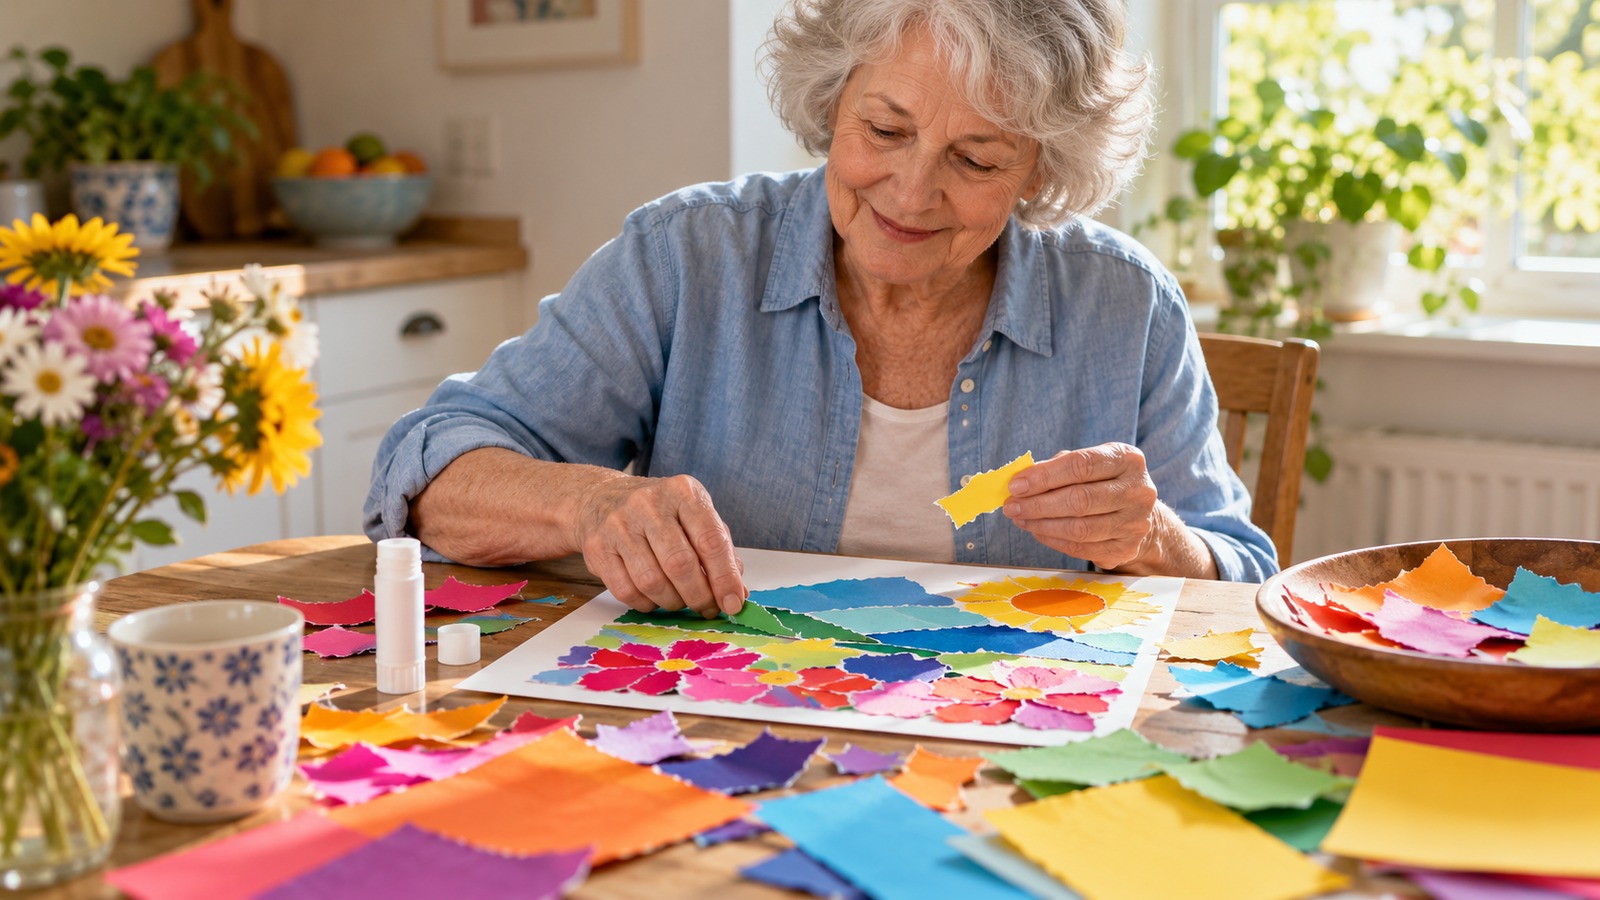
7. Make a torn-paper landscape. Choose colored paper for sky, ground, and one feature such as a tree or building. Tear broad shapes and move them around before attaching them with an appropriate adhesive. Overlap two pieces to suggest distance. The irregular edges give the scene texture without requiring detailed drawing. You can work from a remembered place or invent somewhere new, then add a small feature that makes you curious about the scene.
8. Arrange a geometric collage. Collect a few paper circles, rectangles, and triangles, using prepared shapes if you prefer. Place the largest one first, then try a smaller shape beside or across it. Compare a crowded arrangement with one that leaves more open paper. When a version appeals to you, attach the pieces. Repeating the exercise with the same shapes in a new arrangement can reveal how much a picture changes through placement alone.
9. Design an art postcard. Begin with a small suitable card and choose one visual idea: a large flower, a bright doorway, or a repeating border. Build the image with drawing materials or light paper pieces. The limited space encourages you to choose what matters most. You might make two versions in different colors and keep one for yourself. If you send the other, check that its materials and dimensions fit the mailing method you plan to use.
Notice Texture in Everyday Surroundings
10. Explore a leaf rubbing. Place a clean, suitable leaf under a sheet of paper and move a broad crayon gently across the area. Look for the pattern that emerges. Try a second leaf beside it, or use two colors on separate impressions. You might turn the page into an imaginary garden by adding stems and a horizon. Choose familiar, nonirritating material obtained where collecting is permitted, and protect the surface beneath the work.
11. Compare broad pastel marks. With a pastel product suitable for your workspace, follow its handling directions and make a few large bands of color. Change the direction in another area, then use those marks to suggest a hillside, a bowl, or a patch of sky. The broad tool can encourage a different approach from a pencil point. Notice whether you enjoy the texture and scale before choosing a more detailed subject for another session.
Try Small Forms With an Appropriate Modeling Material
12. Shape a pinch form. In a suitable class or with an appropriate modeling product, begin a small open shape using the instructed technique. Notice how the rim changes as you work around it. You could aim for a gently irregular decorative form and choose one area to emphasize. Ask about drying or finishing before beginning, so the completed session has somewhere to go. Treat the first piece as decorative unless its materials and finish establish another use.
13. Make a textured tile. Start with a small slab of suitable modeling material and use safe activity tools to make several impressions. Choose a repeated pattern or a row of contrasting textures. Leave an area smooth so the differences remain easy to see. An instructor can explain preparation and finishing when those steps are unfamiliar. The tile can become a small decorative study of surfaces, with another version exploring a new arrangement rather than greater complexity.
14. Form decorative beads. With a modeling product and tools suited to the activity, make a few larger bead shapes according to its directions. Try a round shape beside a flattened one and add a simple surface pattern. Choose colors or forms that belong together, then decide later whether to assemble them. Keep small components away from anyone who could swallow them. The immediate pleasure can be arranging a little collection of shapes you made yourself.
Use Photographs to Tell a Small Visual Story
15. Create a three-image sequence. Choose an ordinary event such as opening a flower, preparing a table, or arranging books. Photograph a beginning, a middle, and an ending using equipment you can manage. Look at the images together and try changing their order. Does a different story appear? You can keep them in a digital album or print a small set. Use permission when people or private spaces are involved, and let the sequence remain for your own enjoyment if you prefer.
Look Again at Light and Existing Images
16. Draw a shadow’s shape. Place an ordinary object where suitable daylight makes a clear shadow. Sketch the broad outline and compare it with the object itself. You might add a single color inside the shadow or repeat the drawing when the light has changed. The activity draws attention to something easy to overlook. A cup can become a long oval, and a simple plant can cast a surprisingly complicated pattern across the page.
17. Combine a photograph with paper. Use a copy of your own photograph or an image you may reuse. Place it on a larger sheet and arrange plain paper shapes around it. A garden picture could acquire an imagined path; a familiar building might sit against an unexpected colored sky. Try several arrangements before attaching anything. Working with a copy keeps an original safe while giving you room to reinterpret the image in a playful way.
Bring Personal Stories Into a Picture
18. Draw a memory map. Sketch a familiar street, room, or route and put the places you remember on the page. Add details that explain why they matter: a tree where someone waited, a shop window, or the chair everyone chose. The map can follow memory rather than surveying accuracy. You might tell someone a story from it or keep adding privately. An ordinary route can reveal a whole collection of scenes worth drawing or writing later.
19. Pair a short poem with an image. Notice one small thing and write three or four lines about it. A cup cooling on a table, a bird beyond the window, or a familiar sound can provide enough material. Add a shape or color that shares the mood of the words. Read the lines again after looking at the image. You may discover that one part suggests a change to the other, giving you a natural second session.
20. Illustrate a recipe memory. Choose a dish connected with a person or occasion and draw the things you associate with it. That might be a bowl, an ingredient, or the table where it appeared. Add a brief remembered detail rather than trying to produce a complete cooking instruction. The page can preserve the atmosphere of a meal. A second page could show the same dish in your present-day life, creating a small visual conversation between then and now.
Make Shared Art Without Ranking the Results
21. Create a picture in turns. Place one large sheet between willing participants and agree on the materials. One person adds a line or shape, then the other responds with something new. After several turns, pause and describe what the picture reminds you of. You might continue toward that subject or let it change again. The interest lies in discovering where another person’s contribution takes the page, with a stopping point you can choose together.
22. Illustrate an invented story. Begin with a character and a simple problem: a gardener finds an unfamiliar seed, or a traveler loses a hat. One person can describe a scene while another draws it, then switch roles or add the next scene together. Use the resulting pictures to retell the story. Different styles can make the pages more interesting. Keep the story small enough that an afternoon gives you a satisfying episode rather than an obligation to finish a book.
Keep Exploring Through Small Collections
23. Fold a simple art booklet. Choose an uncomplicated folding format from clear instruction and use paper appropriate to it. Give each available page a related mark, color, or image: weather, windows, leaves, or a short sequence of shapes. Open and close the booklet to see how the pages relate. You can add to it in later sessions. A folded collection makes small experiments feel connected while using little storage space or equipment.
24. Arrange a miniature exhibition. Choose three or four pieces and place them together on a suitable shelf or table without obstructing access. Try grouping by color, subject, or the order you made them. Notice what becomes visible when one piece sits beside another. You might replace one work and compare the effect. Selecting and arranging your own work is a creative activity in itself, even on a day when you do not feel like making a new piece.
25. Revisit one subject in a different medium. Pick something from an earlier session and change how you explore it. A pencil leaf could become a paper collage; a memory map could suggest a short poem. Carry over one detail you especially liked and let the new material change the rest. Looking at both versions afterward shows what each process brought to the subject. Choose the next session from the part that makes you want to return.